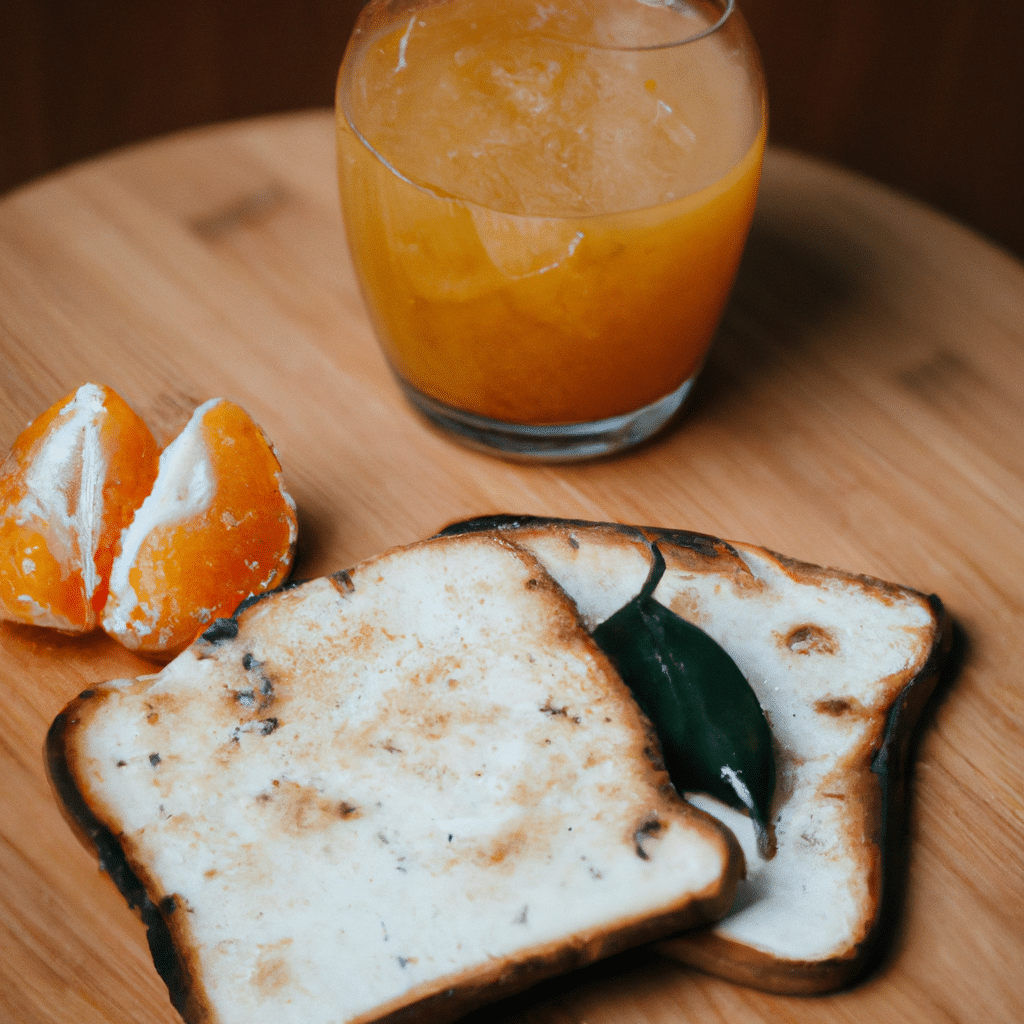
Are you tired of searching for the perfect gluten-free bread recipe? Look no further! In this article, we will share the ultimate gluten-free bread recipe that is both delicious and easy to make. Whether you have dietary restrictions or simply prefer a gluten-free lifestyle, this recipe will satisfy your bread cravings. Get ready to enjoy a slice of homemade goodness that is sure to impress even the pickiest eaters!
- 1. Introduction
- 1.1. What is gluten-free bread?
- 1.2. Benefits of gluten-free bread
- 1.3. Why make your own gluten-free bread?
- 1.4. Ingredients for gluten-free bread
- 1.5. Equipment needed
- 2. Preparation
- 2.1. Preparing the gluten-free flour blend
- 2.2. Measuring and mixing dry ingredients
- 2.3. Activating the yeast
- 2.4. Mixing wet ingredients
- 2.5. Combining wet and dry ingredients
- 3. Baking
1. Introduction
Gluten-free diets have become increasingly popular in recent years, whether due to gluten intolerance or simply as a lifestyle choice. For those who follow a gluten-free diet, finding delicious and satisfying bread alternatives can be a real challenge. Fortunately, with the right recipe, it is possible to make a homemade gluten-free bread that is both flavorful and has a great texture. In this article, we will share the ultimate gluten-free bread recipe that will surely satisfy your bread cravings. Whether you are new to gluten-free baking or have been experimenting with different recipes, this recipe is a must-try. Get ready to enjoy a slice of gluten-free heaven!
1.1. What is gluten-free bread?
Gluten-free bread is a type of bread that is specially made to be free from gluten, a protein found in wheat, barley, and rye. Gluten is known to cause adverse reactions in individuals with gluten sensitivity or celiac disease. Therefore, gluten-free bread provides an alternative for people who need to avoid gluten in their diet.
Gluten-free bread is made using alternative grains and flours such as rice, corn, quinoa, and tapioca. These ingredients are carefully combined with other additives, such as xanthan gum or guar gum, to mimic the texture and structure of traditional bread. The goal is to create a loaf that is as close to regular bread in taste and appearance as possible.
While gluten-free bread may have a slightly different texture and taste compared to conventional bread, advancements in gluten-free baking techniques have made significant improvements in the quality of gluten-free bread. With the right recipe and ingredients, it is possible to achieve a delicious and satisfying gluten-free bread that can be enjoyed by everyone, regardless of dietary restrictions.
1.2. Benefits of gluten-free bread
Gluten-free bread has become a popular choice for many individuals, whether they have celiac disease or simply prefer to follow a gluten-free diet. This type of bread is made from alternative flours such as rice flour, almond flour, or tapioca flour, which do not contain gluten. The benefits of gluten-free bread extend beyond catering to dietary restrictions. In this article, we will explore the advantages of incorporating gluten-free bread into your daily routine and how it can positively impact your health and well-being.
1.3. Why make your own gluten-free bread?
Making your own gluten-free bread can be a game-changer for those with gluten sensitivities or celiac disease. By baking your own bread, you have full control over the ingredients, ensuring that it is completely gluten-free and safe to consume. Additionally, homemade gluten-free bread tends to be fresher and more flavorful compared to store-bought alternatives. It also allows you to experiment with different flours and flavors, creating a personalized bread that suits your taste preferences. In this article, we will guide you through the ultimate gluten-free bread recipe, helping you achieve a delicious loaf of bread that is both gluten-free and satisfying.
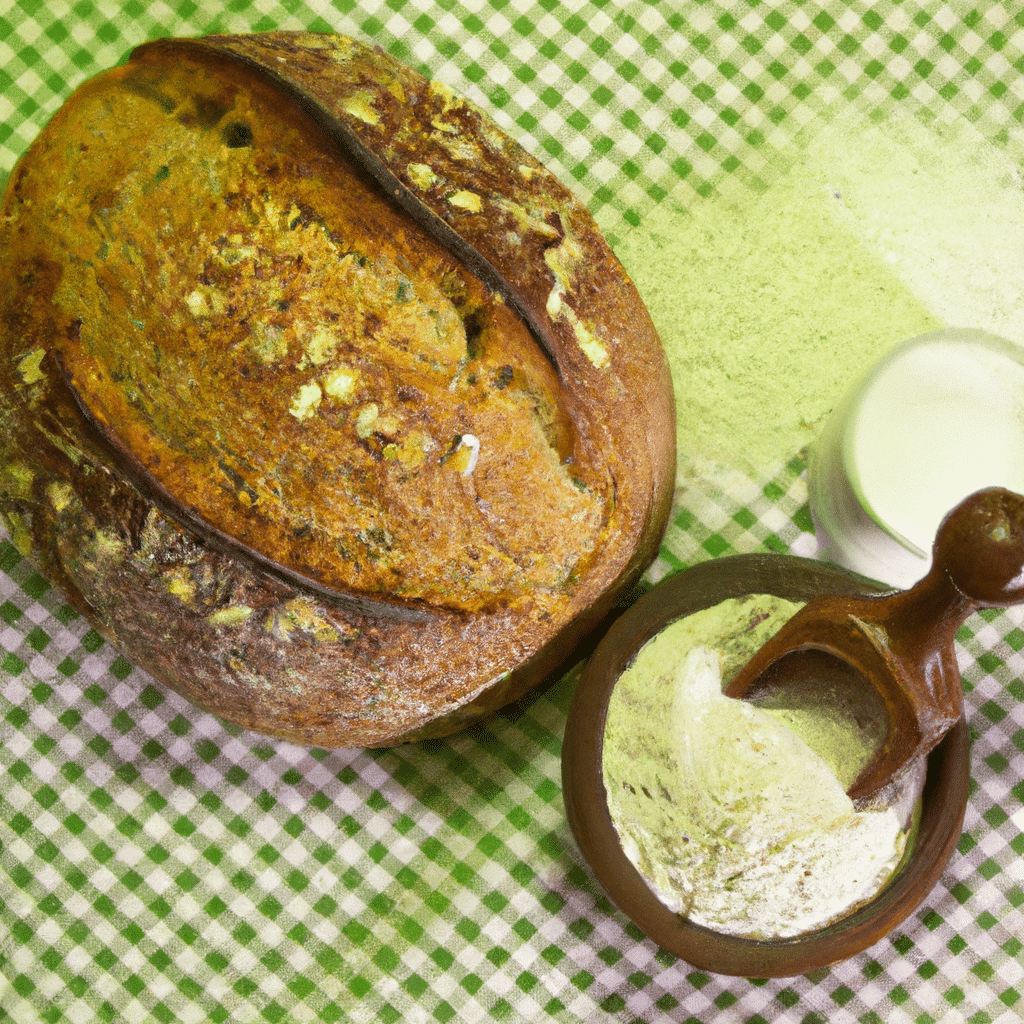
1.4. Ingredients for gluten-free bread
When it comes to making gluten-free bread, it is important to have the right ingredients in order to achieve a delicious and successful result. Gluten-free bread requires alternative flours and binders to replace wheat flour, which contains gluten. Here are some key ingredients to include in your gluten-free bread recipe:
1. Gluten-Free Flour Blend: A combination of gluten-free flours such as rice flour, almond flour, and tapioca flour is commonly used to create a gluten-free bread base. This blend helps to mimic the texture and structure of traditional bread.
2. Xanthan Gum or Guar Gum: These binders help to provide elasticity and structure to gluten-free bread. They help to hold the ingredients together and prevent the bread from crumbling.
3. Yeast: Yeast is necessary to help the bread rise and create a light and airy texture. Make sure to use a gluten-free yeast to ensure the bread remains gluten-free.
4. Eggs or Egg Replacer: Eggs act as a binding agent and help to add moisture to the bread. If you have an egg allergy or are following a vegan diet, you can use an egg replacer such as applesauce, mashed bananas, or flaxseed mixed with water.
5. Liquid: Gluten-free bread recipes often require a combination of liquids such as warm water, milk, or dairy-free milk alternatives. These liquids help to activate the yeast and provide moisture to the bread.
6. Sweetener: Depending on your preference, you can add a sweetener such as honey, maple syrup, or sugar to enhance the flavor of your gluten-free bread.
7. Salt: Salt is an essential ingredient as it enhances the overall flavor of the bread.
By using a combination of these ingredients, you can create a delicious and satisfying gluten-free bread that rivals its gluten-containing counterparts.
1.5. Equipment needed
To create the ultimate gluten-free bread, there are a few essential pieces of equipment that will greatly aid in the baking process. These tools will help ensure that your bread turns out perfectly every time. Here are the must-have items for your gluten-free bread baking adventure:
1. Stand Mixer: A stand mixer is a valuable investment when it comes to gluten-free baking. It makes the mixing process much easier and helps to create a well-incorporated dough.
2. Bread Pan: A good quality bread pan is necessary to achieve the desired shape and texture of your gluten-free bread. Look for a pan with a non-stick coating to prevent sticking.
3. Mixing Bowls: Having a set of mixing bowls in various sizes is essential for measuring and combining your ingredients. Opt for stainless steel or glass bowls, as they are easy to clean and won’t retain any gluten residue.
4. Measuring Cups and Spoons: Accurate measurements are crucial in gluten-free baking. Invest in a set of measuring cups and spoons to ensure the right proportions of ingredients.
5. Bread Knife: A sharp bread knife will come in handy when slicing your freshly baked gluten-free bread. Look for a serrated knife with a long blade for clean and even slices.
6. Cooling Rack: Once your bread is out of the oven, it’s important to let it cool properly to avoid a soggy bottom. A cooling rack allows for air circulation, preventing moisture buildup.
Having these essential tools in your kitchen will set you up for success in creating the ultimate gluten-free bread. Now that you have the equipment, let’s dive into the recipe!
2. Preparation
Preparing to make the ultimate gluten-free bread requires a few essential steps. First, gather all the necessary ingredients. This recipe calls for gluten-free flour, such as almond or rice flour, xanthan gum, yeast, salt, and warm water. Make sure to have these ingredients on hand before you begin.
Next, prepare your work area. Clean your countertop or kitchen table to create a clean and organized space for bread-making. Keep all your utensils, mixing bowls, and measuring cups ready and easily accessible.
Before you start mixing the ingredients, preheat your oven to the recommended temperature. This will ensure that your bread bakes evenly and comes out perfectly.
Once you have everything set up, it’s time to measure and mix the ingredients. Follow the recipe instructions carefully, paying attention to the measurements and order of mixing. Gluten-free bread requires precise measurements to achieve the best results.
After you’ve mixed the ingredients thoroughly, it’s time to let the dough rise. Place it in a warm spot, covered with a clean kitchen towel, and allow it to rise for the recommended time. This step is crucial for the texture and flavor development of your bread.
Lastly, once the dough has risen, it’s ready to be baked. Carefully transfer it to a greased loaf pan or shape it into rolls if desired. Place the pan in the preheated oven and bake according to the recipe instructions. Keep an eye on the bread as it bakes to ensure it doesn’t overcook.
Following these preparation steps will help you create the ultimate gluten-free bread that is delicious, fluffy, and perfect for those with dietary restrictions.
2.1. Preparing the gluten-free flour blend
To make the ultimate gluten-free bread, it is essential to have a high-quality gluten-free flour blend. Preparing your own blend at home allows you to customize the ingredients and ensure the best texture and taste for your bread. Here is a simple recipe to create a versatile gluten-free flour blend:
Ingredients:
– 2 cups brown rice flour
– 2/3 cup potato starch
– 1/3 cup tapioca flour
– 1/3 cup almond flour
Instructions:
1. In a large bowl, combine the brown rice flour, potato starch, tapioca flour, and almond flour.
2. Whisk the ingredients together until well combined and evenly distributed.
3. Transfer the blend into an airtight container or jar for storage.
This gluten-free flour blend can be used as a direct substitute for regular all-purpose flour in many recipes, including the ultimate gluten-free bread recipe. It provides a good balance of flavors and textures, giving your bread a delicious taste and a soft, fluffy texture. Make sure to mix the blend well before measuring it for your bread recipe. Enjoy baking with this homemade gluten-free flour blend!
2.2. Measuring and mixing dry ingredients
Measuring and mixing dry ingredients is an essential step in preparing the ultimate gluten-free bread recipe. To achieve the perfect texture and taste, it is crucial to follow precise measurements and ensure thorough mixing. Here are some guidelines to help you in this process:
1. Use a reliable kitchen scale to measure the dry ingredients accurately. Gluten-free flours can vary in weight, so relying on volume measurements may result in inconsistent results.
2. Sift the flour before measuring to remove any clumps or lumps. This will help in achieving a smoother and more uniform texture.
3. Whisk the dry ingredients together in a large mixing bowl. This ensures even distribution of ingredients and helps to incorporate air, which contributes to the bread’s lightness.
4. If the recipe calls for multiple gluten-free flours, measure each one separately and then combine them in the bowl. Mixing them individually prevents uneven distribution and helps maintain the desired consistency.
5. Add any additional dry ingredients, such as salt, baking powder, or xanthan gum, as specified in the recipe. These ingredients play crucial roles in texture, flavor, and structure.
6. Mix the dry ingredients thoroughly with a whisk or fork until they are well combined. This step ensures that all the ingredients are evenly distributed, preventing any clumps or pockets of dry flour.
By following these steps for measuring and mixing dry ingredients, you are setting the foundation for a successful gluten-free bread recipe. The accurate measurements and uniform mixing will contribute to a delicious and well-textured final product.
2.3. Activating the yeast
Activating the yeast is a crucial step in preparing the ultimate gluten-free bread recipe. Yeast is a living organism that needs to be activated to ensure proper fermentation and rise of the bread dough. To activate the yeast, follow these simple steps:
1. Start by choosing the right type of yeast. It is recommended to use active dry yeast or instant yeast for gluten-free bread recipes.
2. In a small bowl, dissolve the yeast in warm water. The water should be around 110-115°F (43-46°C). Adding a teaspoon of sugar can help activate the yeast faster.
3. Let the yeast mixture sit for about 5-10 minutes until it becomes frothy and bubbly. This indicates that the yeast is active and ready to be added to the bread dough.
4. While waiting for the yeast to activate, gather all the dry ingredients for the bread recipe. This may include gluten-free flour, xanthan gum, salt, and any other additional dry ingredients specified in the recipe.
5. Once the yeast mixture is frothy, you can proceed with the bread recipe as directed. Add the activated yeast to the dry ingredients and mix well to form a sticky dough.
By activating the yeast properly, you ensure that your gluten-free bread will rise and have a light and fluffy texture. This step sets the foundation for a successful gluten-free bread baking experience.
2.4. Mixing wet ingredients
When it comes to preparing the ultimate gluten-free bread recipe, mixing the wet ingredients is a crucial step. This is where you can really create the perfect texture and flavor for your homemade bread. Start by gathering all the necessary wet ingredients, such as water, oil, and any other liquids specified in the recipe.
In a mixing bowl, combine the wet ingredients together. Make sure to measure them accurately to maintain the right balance. Use a whisk or a fork to thoroughly blend the ingredients until they are well incorporated.
Depending on the recipe, you may need to let the wet ingredients sit for a few minutes to allow them to interact and activate certain ingredients like yeast or baking powder. This step is important for ensuring that your bread rises properly.
Once the wet ingredients are mixed and ready, you can proceed to combine them with the dry ingredients as per the recipe instructions. Mixing the wet and dry ingredients together will create the base of your gluten-free bread dough, which will eventually transform into a delicious loaf of bread.
Remember to follow the recipe’s instructions carefully and take note of any specific mixing techniques or timings mentioned. This will help you achieve the best results and ensure that your gluten-free bread turns out soft, moist, and full of flavor.
2.5. Combining wet and dry ingredients
Combining wet and dry ingredients is an important step in preparing the ultimate gluten-free bread recipe. This process ensures that all the ingredients are evenly distributed, resulting in a well-balanced and delicious loaf of bread.
To begin, gather all the dry ingredients specified in the recipe. This typically includes gluten-free flour, xanthan gum, salt, and any additional dry ingredients like herbs or spices. It’s important to use a gluten-free flour blend that is specifically designed for bread baking to achieve the best results.
In a separate bowl, combine all the wet ingredients. This usually includes warm water, yeast, oil, and sometimes eggs or other liquid ingredients. Make sure the water is at the right temperature to activate the yeast properly.
Once you have both the dry and wet ingredients ready, slowly pour the wet mixture into the dry mixture. Use a wooden spoon or a spatula to gently combine the ingredients until a sticky dough forms. Be careful not to overmix, as this can result in a dense and tough loaf of bread.
After the wet and dry ingredients are fully incorporated, it’s time to let the dough rest. Cover the bowl with a clean kitchen towel or plastic wrap and let it sit in a warm, draft-free area for a specified amount of time according to the recipe. This allows the yeast to activate and the dough to rise.
Once the dough has risen, it can be shaped and placed in a prepared loaf pan or on a baking sheet. Follow the recipe instructions for the specific shaping and baking method.
By properly combining the wet and dry ingredients, you’ll be on your way to creating the ultimate gluten-free bread recipe that is both flavorful and satisfying.
3. Baking
Baking is a wonderful way to explore new flavors and create delicious treats. For those who follow a gluten-free diet, finding the perfect bread recipe can be a challenge. However, with the ultimate gluten-free bread recipe, you can enjoy a homemade loaf that is both tasty and free from gluten. This recipe combines a blend of gluten-free flours, such as almond flour and tapioca flour, to create a light and fluffy texture. Additionally, the use of xanthan gum helps to bind the ingredients together, resulting in a bread that holds its shape. Whether you are new to gluten-free baking or a seasoned pro, this recipe is sure to become a staple in your kitchen. So, roll up your sleeves and let’s get baking!
3.1. Preparing the bread pan
Preparing the bread pan is an essential step in baking the ultimate gluten-free bread. Follow these simple instructions to ensure a perfectly baked loaf.
1. Start by selecting a suitable bread pan. Opt for a non-stick pan to prevent the bread from sticking to the sides. A standard 9×5 inch loaf pan works well for most gluten-free bread recipes.
2. Before using the pan, it is important to grease it thoroughly. Use a non-stick cooking spray or brush the pan with melted butter or oil. Make sure to cover the bottom and all sides of the pan evenly.
3. Once the pan is greased, sprinkle a small amount of gluten-free flour into the pan. Tilt and rotate the pan to coat the greased surface with flour. This will further prevent the bread from sticking and make it easier to remove after baking.
4. Tap the pan gently to remove any excess flour. Discard the excess flour, as it can affect the texture of the bread.
Now, your bread pan is ready for the next step – baking the ultimate gluten-free bread!
3.2. Allowing the dough to rise
Allowing the dough to rise is a crucial step in the process of baking gluten-free bread. This step is important because it allows the yeast to activate and create air bubbles, which will give the bread its light and airy texture. To allow the dough to rise, cover it with a clean kitchen towel and place it in a warm and draft-free area. The ideal temperature for rising gluten-free dough is around 80°F (27°C). Let the dough rise for about 1-2 hours or until it has doubled in size. Keep in mind that the rising time may vary depending on factors such as the type of yeast used and the temperature of the room. Once the dough has risen, gently punch it down to release any excess air and shape it into the desired loaf shape before proceeding with the baking process.
3.3. Baking the gluten-free bread
To bake the perfect gluten-free bread, you will need to follow a few important steps. First, gather all the necessary ingredients, including gluten-free flour, yeast, salt, sugar, and xanthan gum. Make sure to choose a high-quality gluten-free flour blend that is suitable for bread making.
Next, activate the yeast by dissolving it in warm water with a pinch of sugar. Allow it to sit for a few minutes until it becomes frothy. This step ensures that the yeast is alive and will help the bread rise.
In a separate bowl, mix together the gluten-free flour, salt, and xanthan gum. These ingredients will provide structure and elasticity to the bread. Gradually add the yeast mixture and additional warm water to the dry ingredients, and mix well until a sticky dough forms.
Transfer the dough to a greased bread pan and smooth the top with wet hands. Cover the pan with a clean kitchen towel and let the dough rise in a warm place for about an hour. The dough should double in size.
Preheat the oven to the recommended temperature for gluten-free bread. Once the dough has risen, gently place the pan in the oven and bake for the specified time, usually around 30-40 minutes. The bread is done when it sounds hollow when tapped on the bottom.
Remove the bread from the pan and let it cool on a wire rack before slicing. It’s important to allow the bread to cool completely to achieve the best texture and prevent it from becoming gummy.
Now you have a delicious, homemade gluten-free bread ready to enjoy! Whether you have dietary restrictions or simply prefer gluten-free options, this ultimate recipe will satisfy your bread cravings with its soft texture and incredible flavor.
3.4. Checking for doneness
Checking for doneness:
Once you have followed the baking instructions for the gluten-free bread recipe, it is essential to check for doneness before removing it from the oven. Here are a few ways to determine if your bread is fully baked:
1. Visual Inspection: Carefully observe the color of the crust. A golden brown crust indicates that the bread is likely done. Avoid removing the bread too early as an undercooked loaf may be dense and moist.
2. Tapping Method: Gently tap the top of the loaf with your fingertips. If it produces a hollow sound, it is a good indication that the bread is thoroughly baked.
3. Internal Temperature: Use a food thermometer to measure the internal temperature of the bread. For gluten-free bread, it should reach a temperature of around 200°F (93°C) when fully baked.
Remember that baking times may vary depending on your oven, so it’s crucial to rely on these doneness tests rather than solely on the specified time. Once your gluten-free bread passes these checks, you can confidently remove it from the oven and allow it to cool before slicing and enjoying!
3.5. Cooling and storing the bread
Cooling and storing the bread:
Once the gluten-free bread is baked to perfection, it is important to cool and store it properly to maintain its freshness and texture. Here are some tips for cooling and storing gluten-free bread:
1. Allow the bread to cool completely on a wire rack before slicing or storing. This helps prevent condensation and keeps the crust crispy.
2. Once cooled, store the bread in an airtight container or resealable plastic bag. This helps retain moisture and prevents the bread from drying out.
3. If you prefer a softer crust, you can wrap the bread in a clean kitchen towel or place it in a bread box.
4. It is recommended to consume gluten-free bread within 2-3 days. After that, you can freeze the bread for longer shelf life.
5. When freezing, slice the bread and place parchment paper between each slice to prevent them from sticking together. Then, place the slices in a freezer-safe bag or container.
Remember, proper cooling and storage techniques are essential for maintaining the quality of your gluten-free bread. Enjoy the delicious taste and texture of your homemade gluten-free bread for days to come!
Conclusion
In conclusion, this ultimate gluten-free bread recipe offers a delicious and healthy alternative for those who follow a gluten-free diet. With its simple ingredients and easy-to-follow instructions, anyone can enjoy the taste and texture of homemade bread without the gluten. Whether you have celiac disease or simply want to reduce your gluten intake, this recipe is a must-try. So, roll up your sleeves and get ready to bake your way to gluten-free goodness!